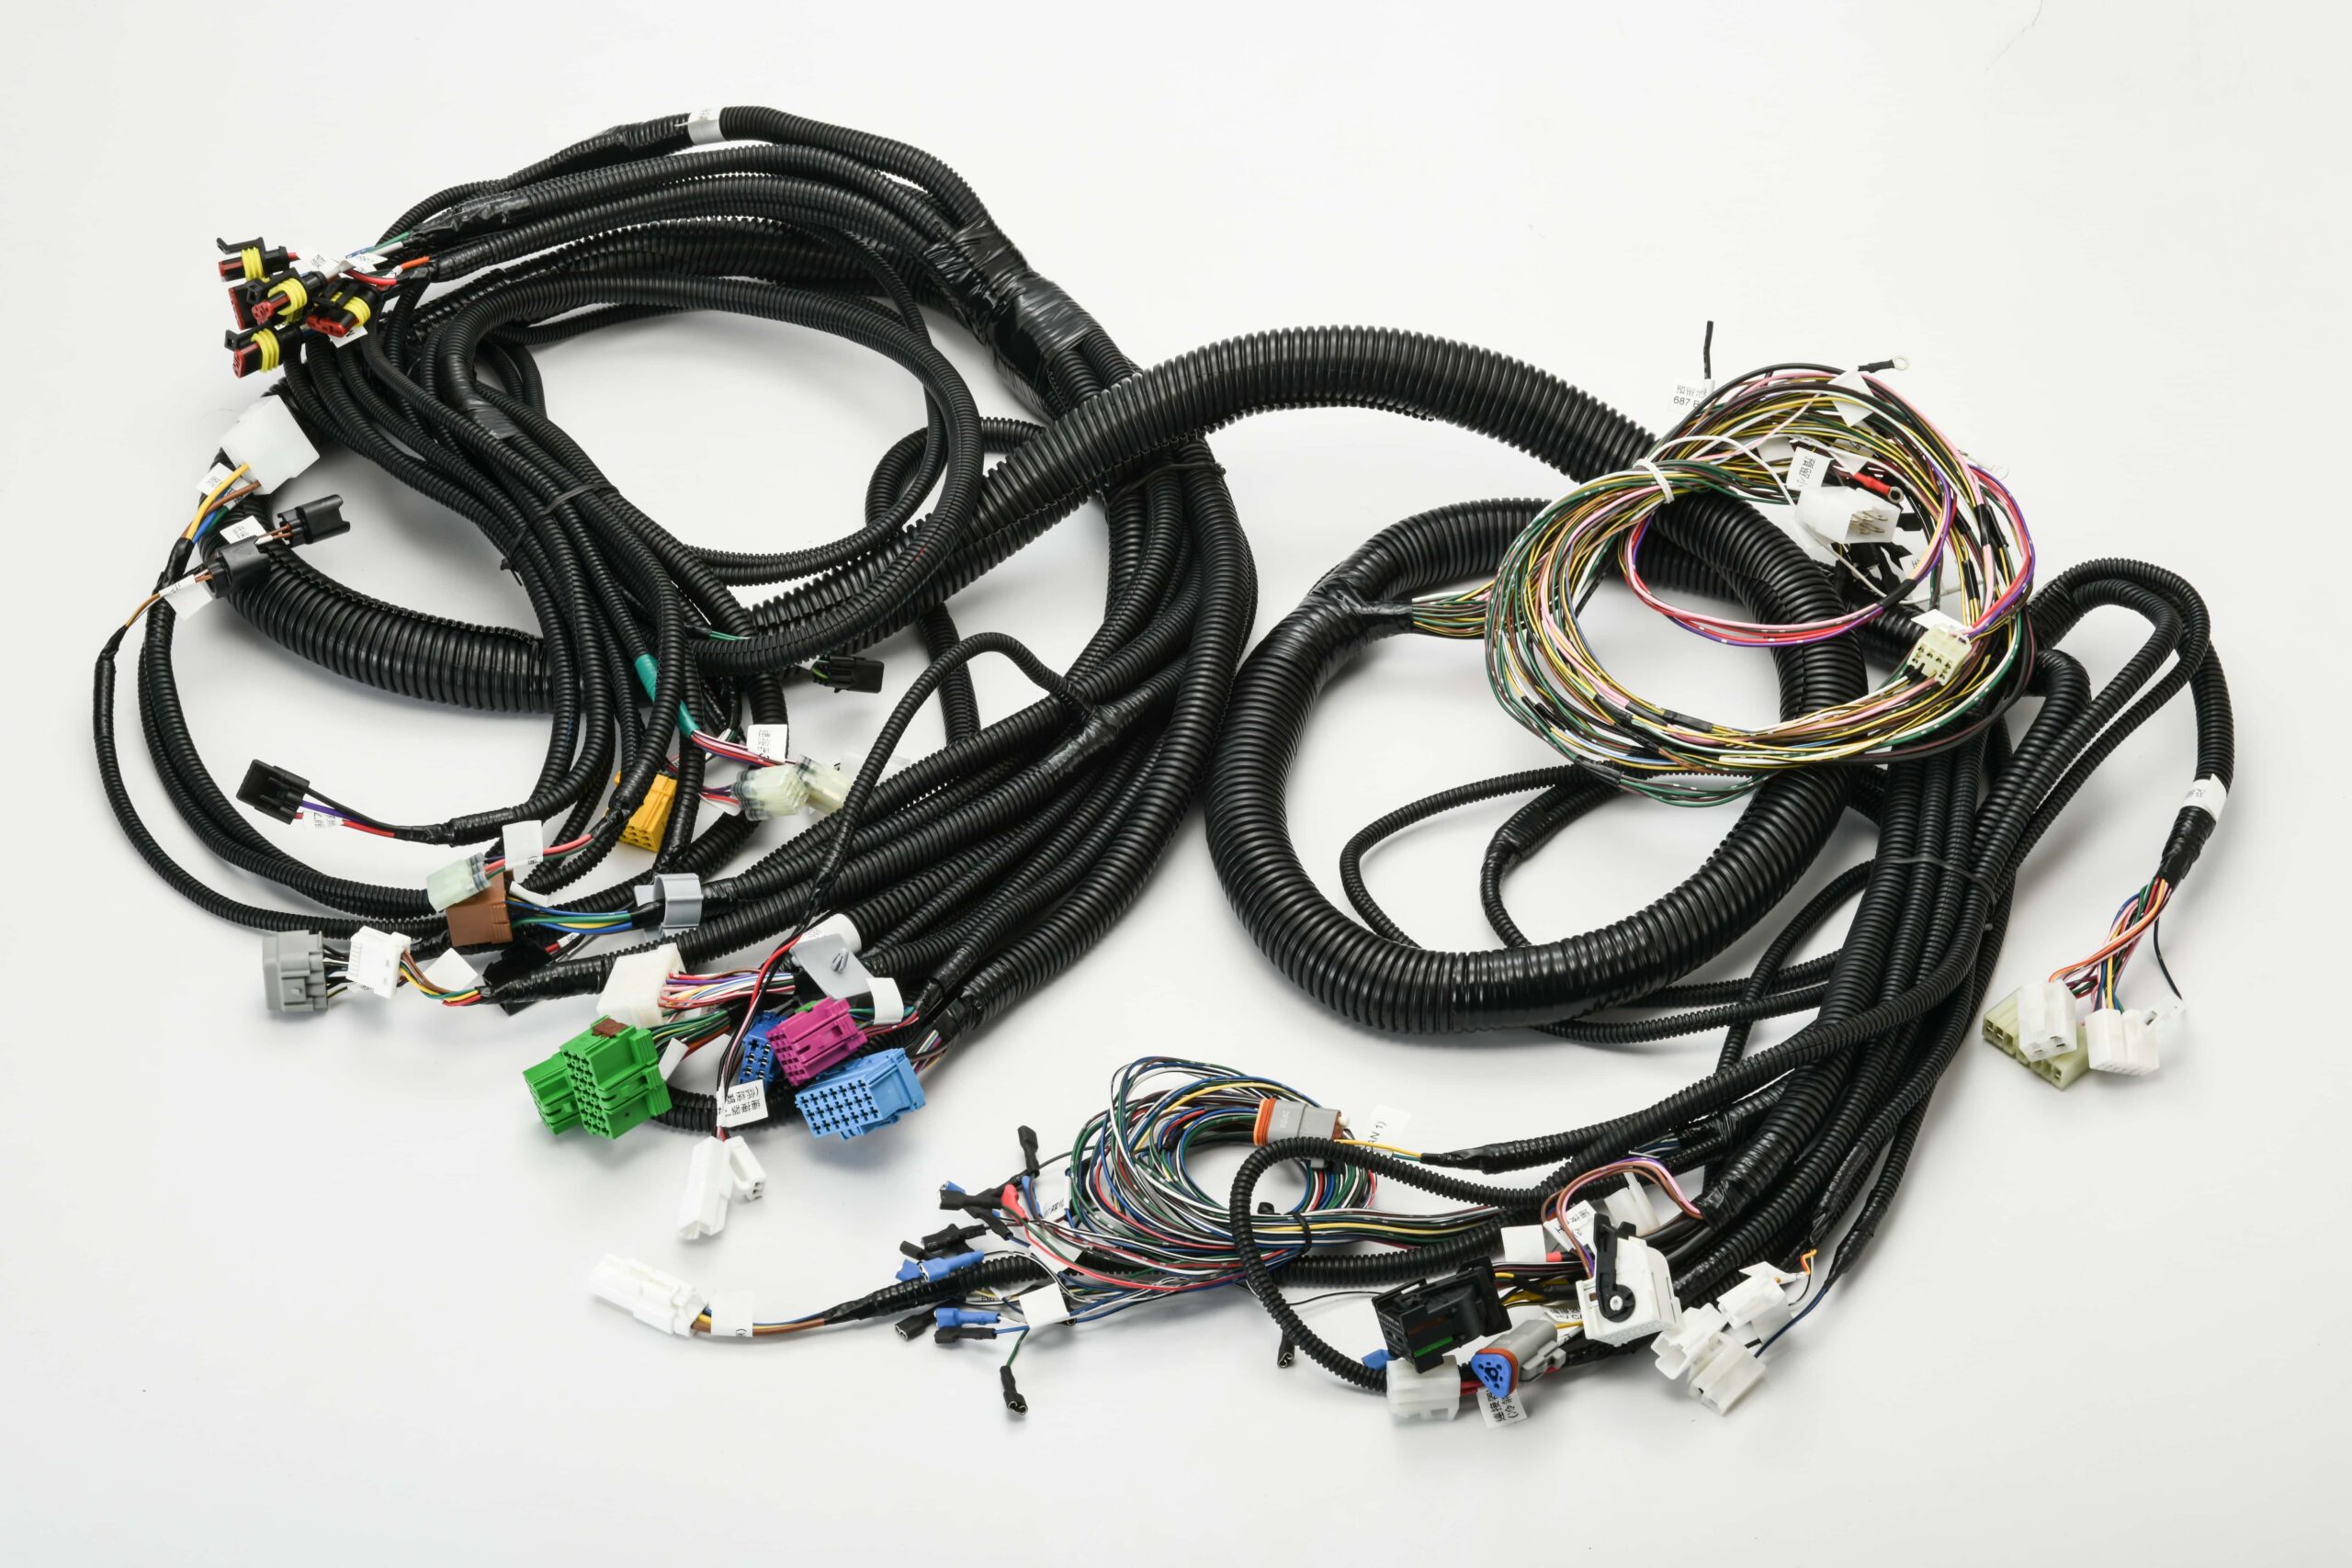
1. Plan Your DIY wire harness Assembly
Why Planning is Essential:
- Avoids errors and rework
- Ensures proper wire lengths and connections
- Identifies required components and tools
Steps for Planning:
- Create a wiring diagram: Sketch the layout, showing all connections, components, and wire paths.
- Label wires: Assign unique identifiers (e.g., colors, numbers) to each wire for easy identification.
- Determine wire types and gauges: Choose wires based on current requirements and application (e.g., 18 AWG for low-power, 10 AWG for high-power).
2. Gather Tools and Materials
Tools:
- Wire stripper and cutter
- Crimping tool
- Soldering iron (optional, for soldered connections)
- Heat gun (for heat shrink tubing)
- Multimeter (for testing continuity)
- Screwdrivers and pliers
- Electrical tape or cable ties
Materials:
- Wires of appropriate gauge and insulation
- Connectors (e.g., spade, ring, bullet, or Molex)
- Terminals (e.g., male, female, or pin terminals)
- Heat shrink tubing
- Protective wire loom or conduit (for added durability)
- Mounting clips and fasteners
3. Cut and Strip Wires
- Measure the wire lengths: Use your diagram to measure and cut each wire to the appropriate length.
- Strip the insulation: Use a wire stripper to remove about 1/4–1/2 inch of insulation from the ends of each wire.
4. Attach Connectors and Terminals
Crimping Method:
- Slide the stripped wire end into the terminal or connector.
- Use a crimping tool to secure the connection firmly.
- Test the connection by gently tugging the wire.
Soldering Method (Optional):
- Twist the stripped wire strands for a solid connection.
- Solder the wire to the connector.
- Cover the joint with heat shrink tubing and apply heat to secure.
5. Organize and Bundle the Wires
- Group wires by function or destination.
- Bundle them using electrical tape, zip ties, or spiral wrap.
- Place the bundles inside a wire loom or conduit for protection against abrasion and heat.
6. Secure the Harness in Place
- Use mounting clips or fasteners to attach the wire harness to the vehicle or equipment frame.
- Ensure wires are routed away from sharp edges, moving parts, and heat sources.
7. Test the Wire Harness
- Use a multimeter to check for continuity and proper voltage.
- Verify that all components function as intended.
- Inspect connections to ensure they’re secure and free of shorts.
Tips for Success:
- Label both ends of each wire: This simplifies troubleshooting and future repairs.
- Choose high-quality components: Avoid cheap connectors or wires that may fail under stress.
- Leave slack: Provide some extra length to accommodate movement or future modifications.
- Protect connections from moisture: Use heat shrink tubing or dielectric grease in high-humidity environments.
Common Mistakes to Avoid:
- Incorrect wire gauge: Using a wire too thin can cause overheating.
- Loose crimp connections: This can lead to poor conductivity or wire disconnection.
- Skipping continuity testing: Undetected issues can result in system failures.
- Over-tight bundling: Wires should be secure but not excessively tight, as this can cause damage over time.
Final Thoughts
Building a wire harness requires patience, precision, and attention to detail. With proper planning and execution, you can create a durable and professional-grade harness for any application.
Would you like help with a specific DIY wire harness Assembly project, such as automotive, robotics, or home appliances? Let me know!
Please follow and like us:


Comments are closed